Practical Guide to Linux Commands, Editors, and Shell Programming, A (2nd Edition)This is an excellent book that I highly recommend for anyone who want's to learn/keep up with the latest and greatest Linux Commands, Editiors, and Shell Programming Knowledge! Such a great book it's actually worth buying if you are serious about learning Linux Commands, Editors, and Shell Programming! Highly Recommended! Also, here are some other great Linux books that I highly recommend purchasing while they're still in stock: |
Friday, July 29, 2011
Practical Guide to Linux Commands, Editors, and Shell Programming, A (2nd Edition)


Saturday, May 7, 2011
How To Install Google Android On Windows, Mac or Linux PC

If you want to try out Google Android before buying an Android based mobile phone then you have come to the right place. Google provides an Android emulator along with the Android SDK.
If you are a developer you can test the apps you write using this emulator or if you just want to test drive an Android phone, you can do that too.
To get the Android Emulator up and running:
>First, Download Java from here and install it.
>Now you have to download the Android SDK from here. While downloading for windows select the Compressed .zip file, not the “recommended” .exe file.
>Once that download is done, extract the contents of the .zip file. After the extraction, open SDK Setup.exe.
>Now the SDK will get a list of packages available from Google. If there is an error go to Settings and check “Force https://…”.
>Now you will be shown a list of platforms. Unless you want to try all the versions of Android, select only the versions you want to try as each Platform is about 50-75 MB in size. For the others select them then click Reject.
>Now you will be able to see an “Installing Archives” dialog box. Once the download is over click on “Close”.
>Next we set up the Virtual phone. Click on “Virtual devices”, then “New…”.
>Now just select the Skin, SD Card Size& Android Version you want. Now Give a name to your Virtual Device and then click “Create AVD”. When you click this there can be a small time lag till a message comes that the Virtual Device has been created.
>Now select your virtual device from “Virtual devices” and select “Start…”.
>Now a screen with “ANDROID_” will comes with the underscore blinking.
>After which the Android Start Up screen will become visible and then you will reach your home-screen. Thats it. Now you can use your Android Virtual Phone.
With the Emulator you can do many things that you can do with a real Android such as:


- Browse the Internet just as in an Android Mobile.
- Check out the Menus, Widgets, Wallpapers, Settings etc…
- Install free Apps off the Internet.
Search Amazon.com CellPhones for htc
Wednesday, May 4, 2011
Install GNOME 3 on Ubuntu 11.04
The following tutorial will teach you guys how to install the highly anticipated
GNOME 3
desktop environment on the Ubuntu 11.04 (Natty Narwhal) OS.We've tested the tutorial on the beta version of the upcoming Ubuntu 11.04 (Natty Narwhal) distribution. To install
- GNOME
WARNING: Attention! If you follow this toturial, you'll break your Unity session. There is no downgrading method for now. You've been warned!
Step 1Add the GNOME 3 repository
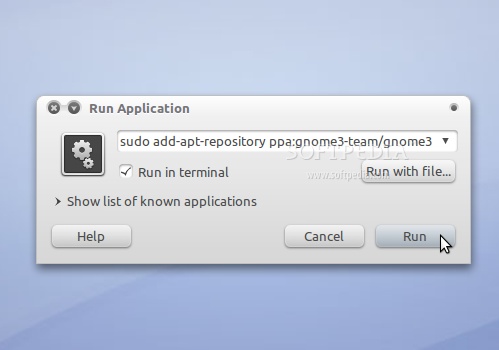
Hit the ALT+F2 key combination on your keyboard, check the "Run in terminal" option and paste the following command in the "Run Application" dialog:
sudo add-apt-repository ppa:gnome3-team/gnome3
 |
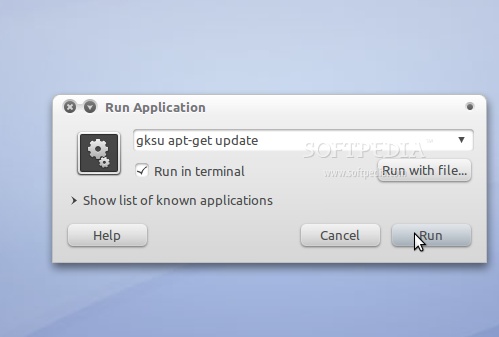
Enter your password when asked and hit the OK button. A terminal window will appear for a few seconds, and it will automatically close. Hit the ALT+F2 key combination again, check the "Run in terminal" option and paste the following command in the "Run Application" dialog:
gksu apt-get update
 |
Enter your password when asked and hit the OK button. A terminal window will appear for a few seconds, and it will automatically close.
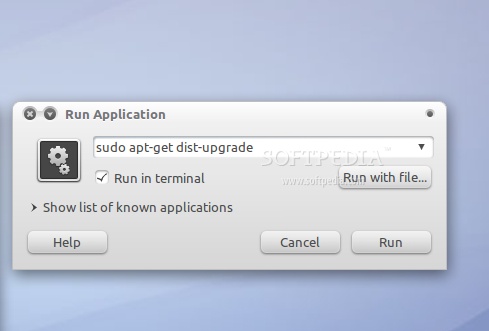
Hit the ALT+F2 key combination again, check the "Run in terminal" option and paste the following command in the "Run Application" dialog:
sudo apt-get dist-upgrade
 |
A terminal window will appear. Enter your password and hit Enter. When you will be asked if you want to upgrade your packages, type Y and hit Enter. The terminal window will automatically close when the installation is over.
Step 2 - Install GNOME 3
Hit the ALT+F2 key combination again, check the "Run in terminal" option and paste the following command in the "Run Application" dialog:
sudo apt-get install gnome-shell
Enter your password and hit Enter. When you will be asked if you want to install gnome-shell, type Y and hit Enter. The terminal window will automatically close when the installation is over.
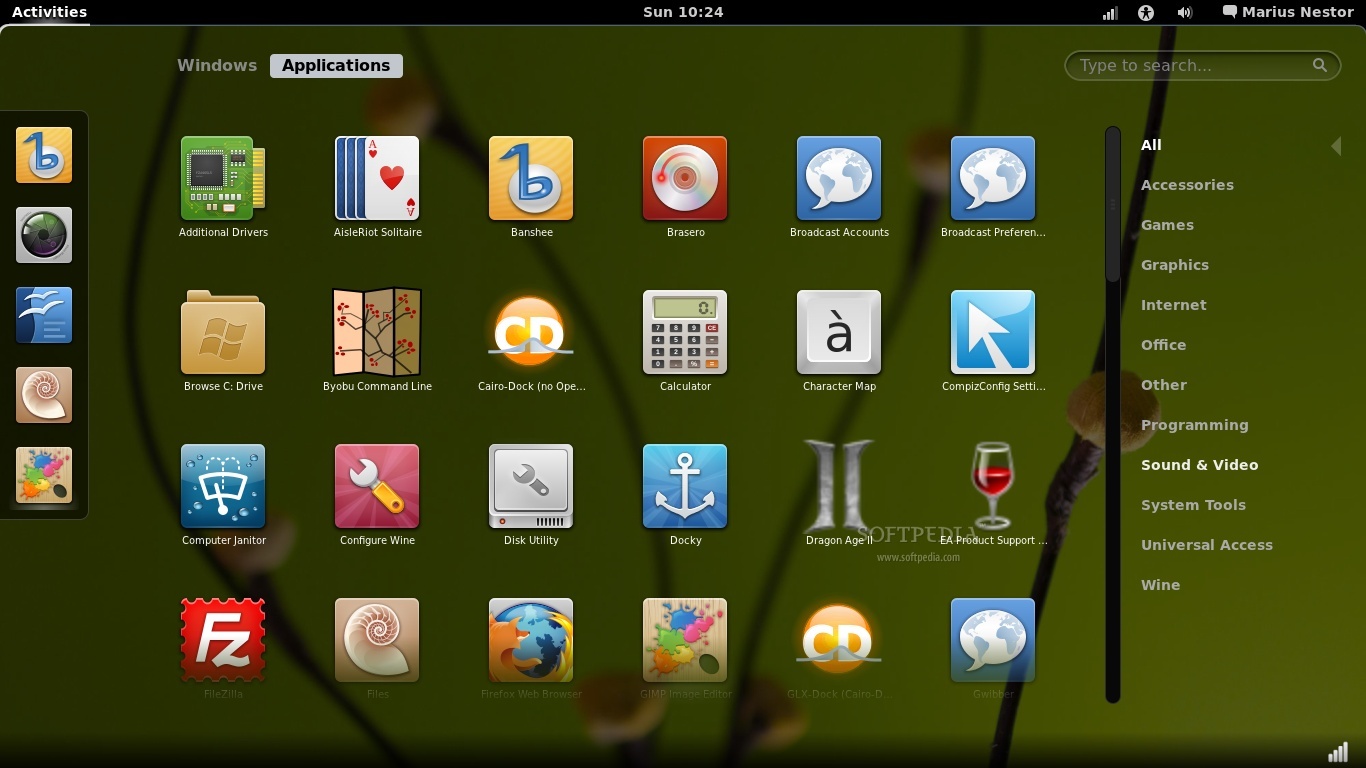
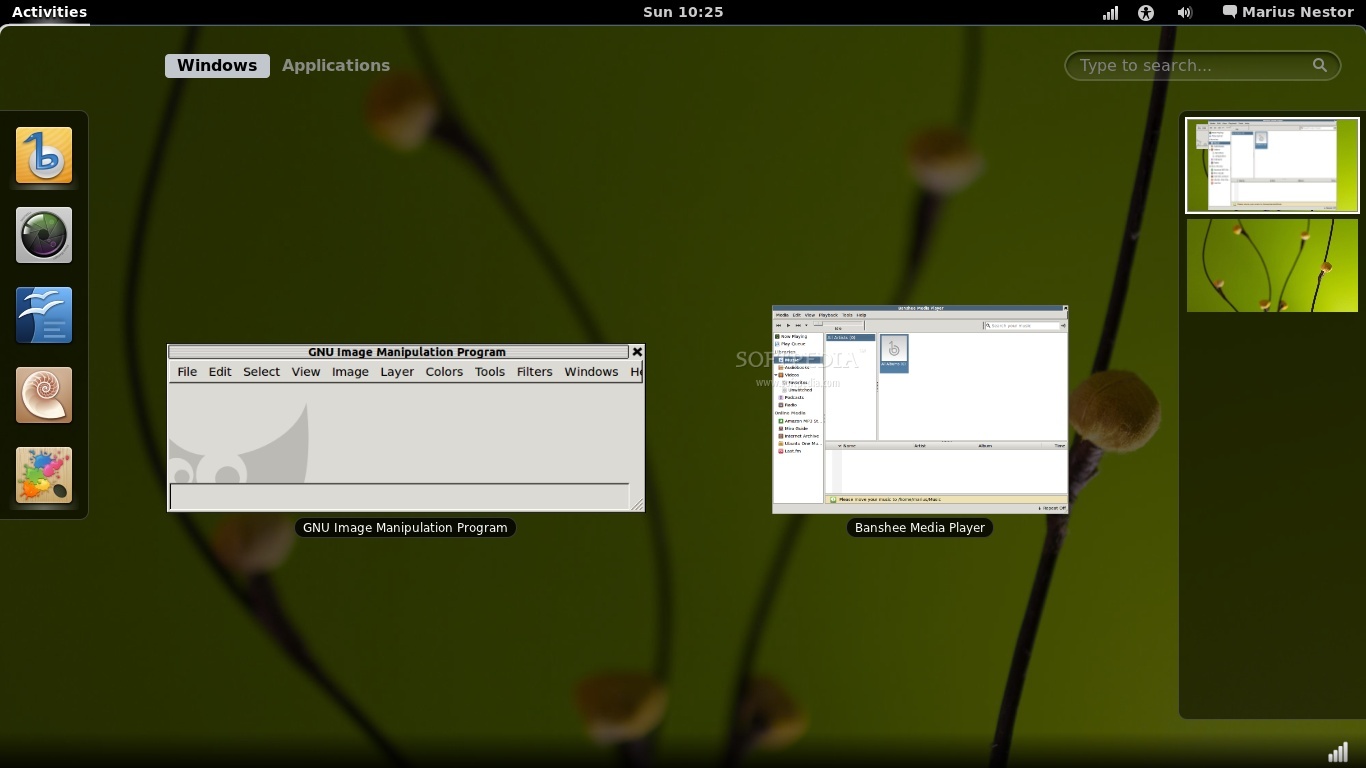
That's it! GNOME 3 is now completely installed in your Ubuntu machine. All you have to do now is to reboot your system and choose Ubuntu GNOME Shell Desktop at the login screen.
Enjoy your new GNOME 3 desktop environment!
 |
 |
In time, your GNOME 3 installation will automatically update to newer versions, so make sure you update your system regularly.
If you have problems with the tutorial, do not hesitate to comment below!
Monday, April 18, 2011
Slim Down and Speed Up Linux
Slim Down and Speed Up Linux

While Linux is pretty efficient with a computer's resources out of the box, there are still ways you can make it run leaner and meaner on your desktop. Using a little bit of know-how, a willingness to run a few terminal commands, and a mind for efficiency, you can get every last bit of power from your Linux box, or get more life from an older system. Read on for a roundup of ways to slim down and speed up Linux that any level of user can implement.
One quick note: Many of these tweaks require altering system files, disabling processes or otherwise changing how your system runs. Whenever you alter a system file, back it up. The easiest way is to open a terminal and create a ".backup" version of it. For instance, to back up the /etc/hosts file, open a terminal and type:
sudo cp /etc/hosts /etc/hosts.backup
More importantly, if you're unsure of anything, don't do it!
Prune your processes
The easiest and safest way to free up memory in any Linux system is to stop unnecessary programs and background processes from running, and then get your system to remember how you like it. Most Linux distributions have a tool in their "System" or "Administration" menus that let you see what's going on and halt things, if necessary—in Ubuntu, there are two of them: System->Preferences->Sessions, and System->Administration->Services. On every computer I've loaded Linux onto, there are a few startup programs I almost always disable from the "Sessions" menu. I don't sync my phone to my computer and use Thunderbird instead of the built-in Evolution, so the Bluetooth Manager and Evolution Alarm Notifier are first to go. Before touching anything in the "Services" window, consult this ExtremeTech guide for pointers on what is and isn't safe to turn off. As mentioned in the guide, Ubuntu (like most distro GUIs) only sees a few of the many services your computer is running. If you really want to fine-tune your system, you can install the sysv-rc-conf package found in many distros and surgically remove unnecessary background programs—but I'll reiterate that point made above about backing up and making only a few changes at a time.
Install Lighter, Faster Applications
 Full-featured, well-rounded programs like Firefox, OpenOffice.org, and Amarok are a big part of the growth in Linux users. For computers running tight on memory, however, they can make Linux feel less like the streamlined system it's meant to be. For users who only need the basics, there are lighter-weight alternative applications that take up less memory and move a little swifter.
- Office programs: AbiWord, Gnumeric, KOffice—OpenOffice, like its proprietary adversary, Microsoft Office, has more features, settings and tools than any one user is likely ever going to need. For those who just want to be able to type documents and make basic spreadsheet edits, AbiWord and Gnumeric are a nice compromise between speed and features. KOffice is a bit more full-featured and KDE-oriented, but seems to run faster than OpenOffice.
- File browsing: Thunar, PCMan—Both are fast, streamlined file browsers that don't try to offer up all the multimedia extras and graphical niceties that can bog down the default Nautilus (GNOME) and Konquerer (KDE) browsers. The PsychoCats site has a helpful guide for switching from Nautilus to Thunar; KDE users can also install Thunar or look into installing Dolphin from repositories, and any user can check out Google Docs, Zoho or other online office suites.
- Web browsing: Opera, Konquerer—There are extremely light browsers that use far less memory than Firefox (Dillo, Epiphany, and the like), but the convenience and ease of use are hardly comparable. Opera, however, offers a small memory savings, and KDE's built-in browser is extensible and noticeably lighter.
Remove extra virtual terminals
Virtual terminals are a good tool to have—they offer a last-ditch escape to command line for a chance to fix things in a crashing system. But many Linux systems come with six of them enabled, which isn't usually necessary. You can usually disable five of them with few consequences. If you're using Gutsy, open a terminal and type in the following commands:cd /etc/event.d... and so on, through the tty6 file. If you're still on Feisty or other Linux distros, you'll likely have to edit the file in /etc/inittab and add a # character in front of the lines ending with tty3, tty4 and the like.
sudo mv tty3 tty3.bak
sudo mv tty4 tty4.bak
Reduce swappiness
 If your system generally has enough memory to handle what you throw at it, your use of swap space should be minimal, but your system doesn't know that. To temporarily lower your swappiness, type the following command into a terminal (replacing "sudo" with "su" in some systems):
sudo sysctl -w vm.swappiness=10To make that fix permanent, enter the following command (trading "gedit" for "kate" in KDE systems, or "nano" or "vi" if you have neither):
sudo gedit /etc/sysctl.confIn the file that comes up, look for the line vm.swappiness=x and change the value to 10, or add the line if it doesn't exist.
Get good with the terminal
 You've heard us evangelize about the efficiency of terminals before, but it's especially true in Linux. Give your terminal a handy keyboard shortcut, keep a list of basic commands handy, and learn to write bash scripts, create command shortcuts and find anything from one no-nonsense interface.
Five more tips and guides to speeding up your system
- Speed up GNOME menu—A simple but noticeable tweak, especially on older computers.
- Speed up OpenOffice—Also applies to Windows and Mac versions.
- Speed up Ubuntu Boot and Shutdown Process—This guide applies mainly to Ubuntu 7.04, "Feisty Fawn," and earlier versions.
- Give Ubuntu a speed boost—Note that some of the tweaks in the linked article could, if done improperly, leave a system unbootable, so proceed with caution.
- Change GNOME Menus to Use PCMan File Manager—If you don't want to make a complete PCMan transition, this trick launches the browser from GNOME's top bar menu.
Kevin Purdy, Lifehacker's newest Associate Editor, digs finding optimization tips. His weekly feature will appear every Friday on Lifehacker.
Subscribe to:
Posts (Atom)

 Posts


